How to Ground Electrical Accessories the Right Way
Grounding is a critical aspect of installing any 12V accessory in your vehicle, whether it’s ambient lighting kits, starlight headliners, dashcams, or LED-based modifications. This guide will walk you through the best practices for grounding your accessories safely and effectively, ensuring optimal performance and longevity.
✅ The Basics of Grounding
Most 12V kits are powered by a simple positive (power) and negative (ground) wire. The ground serves as the return path to complete the circuit, making it essential for the proper functioning of your accessories.
Proper grounding is just as important as the power tap. A bad ground can lead to flickering lights, failure to turn on, or long-term electrical issues that can affect your vehicle’s performance.
⚠️ What Happens With a Bad Ground?
When grounding is not done correctly, several issues can arise:
- Voltage drops, leading to system instability.
- Electrical noise that can interfere with other systems.
- Ground loops that may cause error messages or DTCs (diagnostic trouble codes).
- Inconsistent function, especially in kits controlled via CAN modules or app remotes.
🪛 How to Find a Reliable Ground Point
Finding a reliable ground point is crucial for a successful installation. Here’s how to do it:
- Use a test light or multimeter in continuity mode to verify that a bolt or stud is grounded to the chassis.
- Ensure bare metal contact; avoid painted or coated bolts unless sanded clean.
- Look for OEM grounding points, which are often located under the dash, on seat mounts, or in trunk areas.
- Fuse boxes sometimes have grounding blocks nearby for convenience.
🔩 Proper Grounding Procedure
Follow these steps for proper grounding:
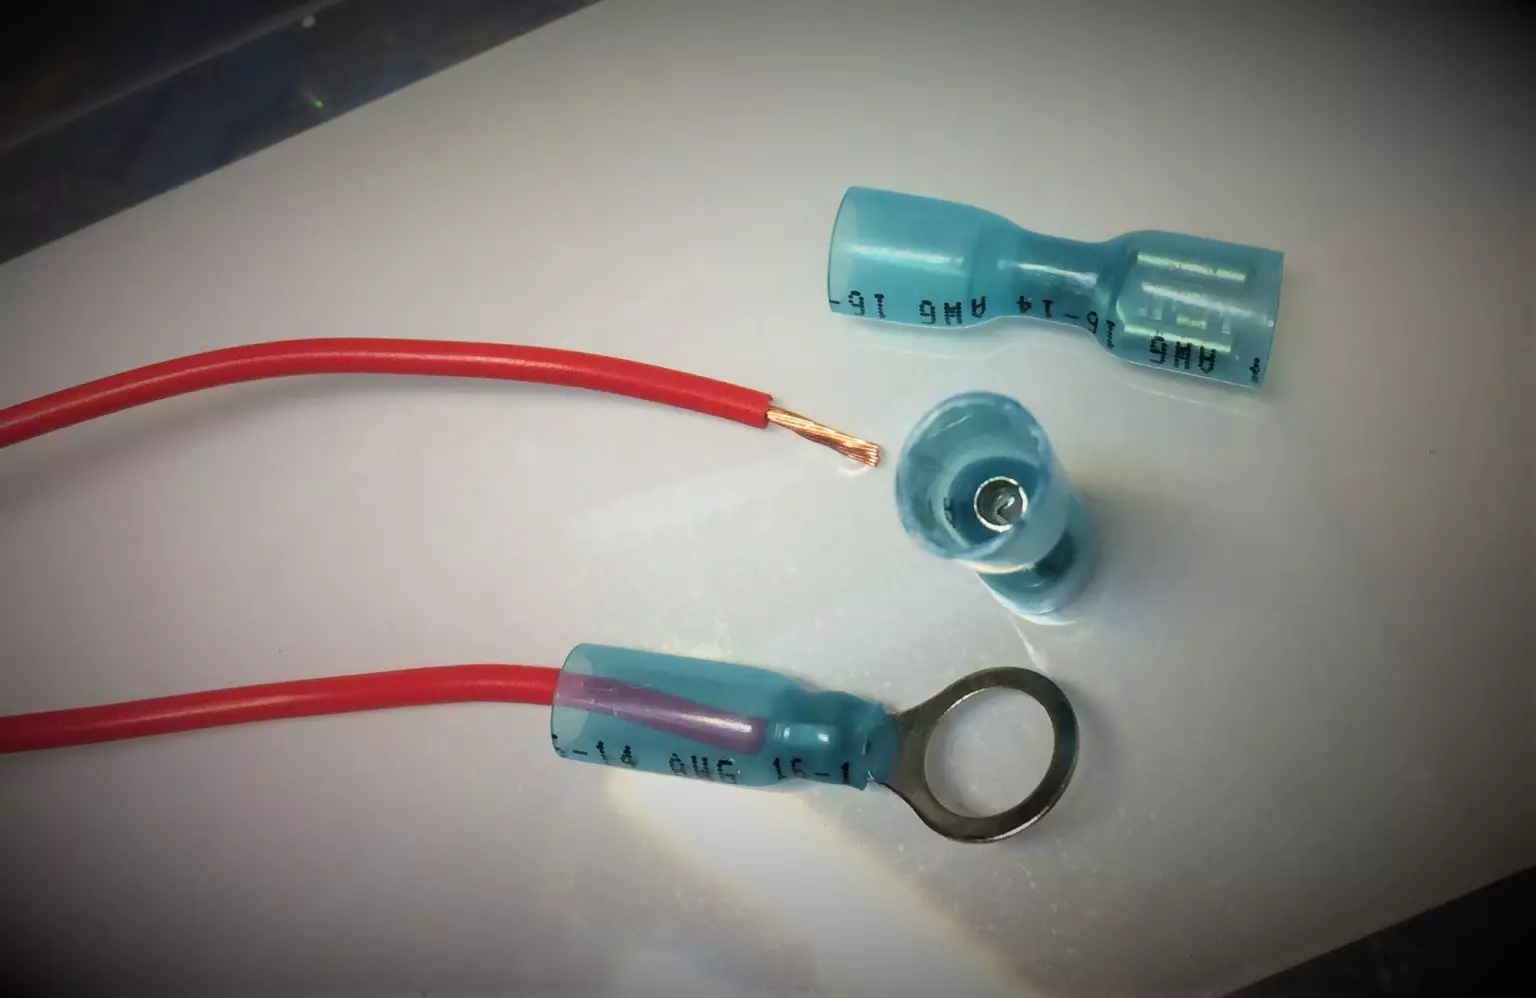
- Strip the wire cleanly and crimp it into a closed-loop ring terminal—avoid using a fork terminal.
- Avoid wrapping wire around bolts without a terminal, as this is unsafe and can vibrate loose.
- Clean the metal surface with a wire brush or sandpaper to ensure a good connection.
- Secure the terminal tightly with a factory bolt or a new self-tapping screw into solid chassis metal.
- Use dielectric grease to prevent corrosion if the connection is exposed to moisture (like in door jams or the trunk).
- Zip tie wires to prevent vibration stress over time, ensuring a clean and secure installation.
📏 Wire Gauge and Routing
When grounding, it’s important to match the ground wire size to your power wire. Most LED kits use 18–22 AWG wire. Here are some additional tips:
- Avoid long ground wires; keep the path short and direct for optimal performance.
- Never ground to floating metal, trim brackets, or plastic screw points, as these can lead to unreliable connections.
🧰 Tools & Supplies
To ensure a successful grounding installation, gather the following tools and supplies:
- Test light or multimeter
- Wire stripper and crimper
- Ring terminals (preferably heat-shrink)
- Sandpaper or wire brush
- Dielectric grease (optional)
- Zip ties for strain relief
🧪 Ground Testing After Install
After installation, it’s important to test the ground connection:
- Use a multimeter to test for voltage drop from the power wire to ground while the device is on.
- Check that the ground remains solid during vibration and movement, especially on mobile installs.

