Complete Headliner Disassembly Guide with Trim & Sunroof Variations
This guide provides detailed instructions for disassembling a vehicle headliner, including trim and sunroof removal. Whether you're a DIY enthusiast or a new installer, this comprehensive resource will help you navigate the process with ease.
Battery Safety & Pre-Prep
Before starting any disassembly, it's crucial to prioritize safety. Follow these steps:
- Disconnect the Battery: Always disconnect the battery first, especially if you're working with seat or airbag-related components. This prevents accidental deployment and ensures safety.
- Be Aware of DTCs: Newer vehicles can trigger airbag Diagnostic Trouble Codes (DTCs) if the battery is not disconnected. If DTCs are set, you may need a scan tool to clear them after reinstallation.
Trim & Pillar Removal
Removing trim and pillars is essential for accessing the headliner. Here’s how to do it:
A-Pillar Removal
- Be cautious of airbag deployment risks; some vehicles have side airbags in the A-pillar.
- Look for clips and screws that may be hidden under trim caps.
- Use a panel removal tool to gently pry off the trim without damaging it.
B-Pillar Removal
- In some cases, the headliner can flex and clear the B-pillars. If you choose to remove the B-pillar, keep in mind the seat belt anchor for both the driver and passenger sides.
C-Pillar Removal
- Often just clipped in place or located behind coat hooks.
- Carefully remove any clips to avoid breaking them.
Seat Removal
In some cases, you may need to remove the seats to access the headliner. Here’s how:
- Refer to our Seat Removal 101 article for detailed instructions.
- When removing seats, be cautious of electrical connectors located underneath.
- Always disconnect the battery before working on electrical components.
Sun Visor, Grab Handle, and Overhead Trim
These components often need to be removed before accessing the headliner:
- Sun Visors: Check for screws or metal clips; some may use plastic spreaders.
- Grab Handles: Look for screws hidden under trim caps or use double-spring clips for removal.
- Remove rear dome lights, front overhead consoles, and rear grab handles and hooks as needed.
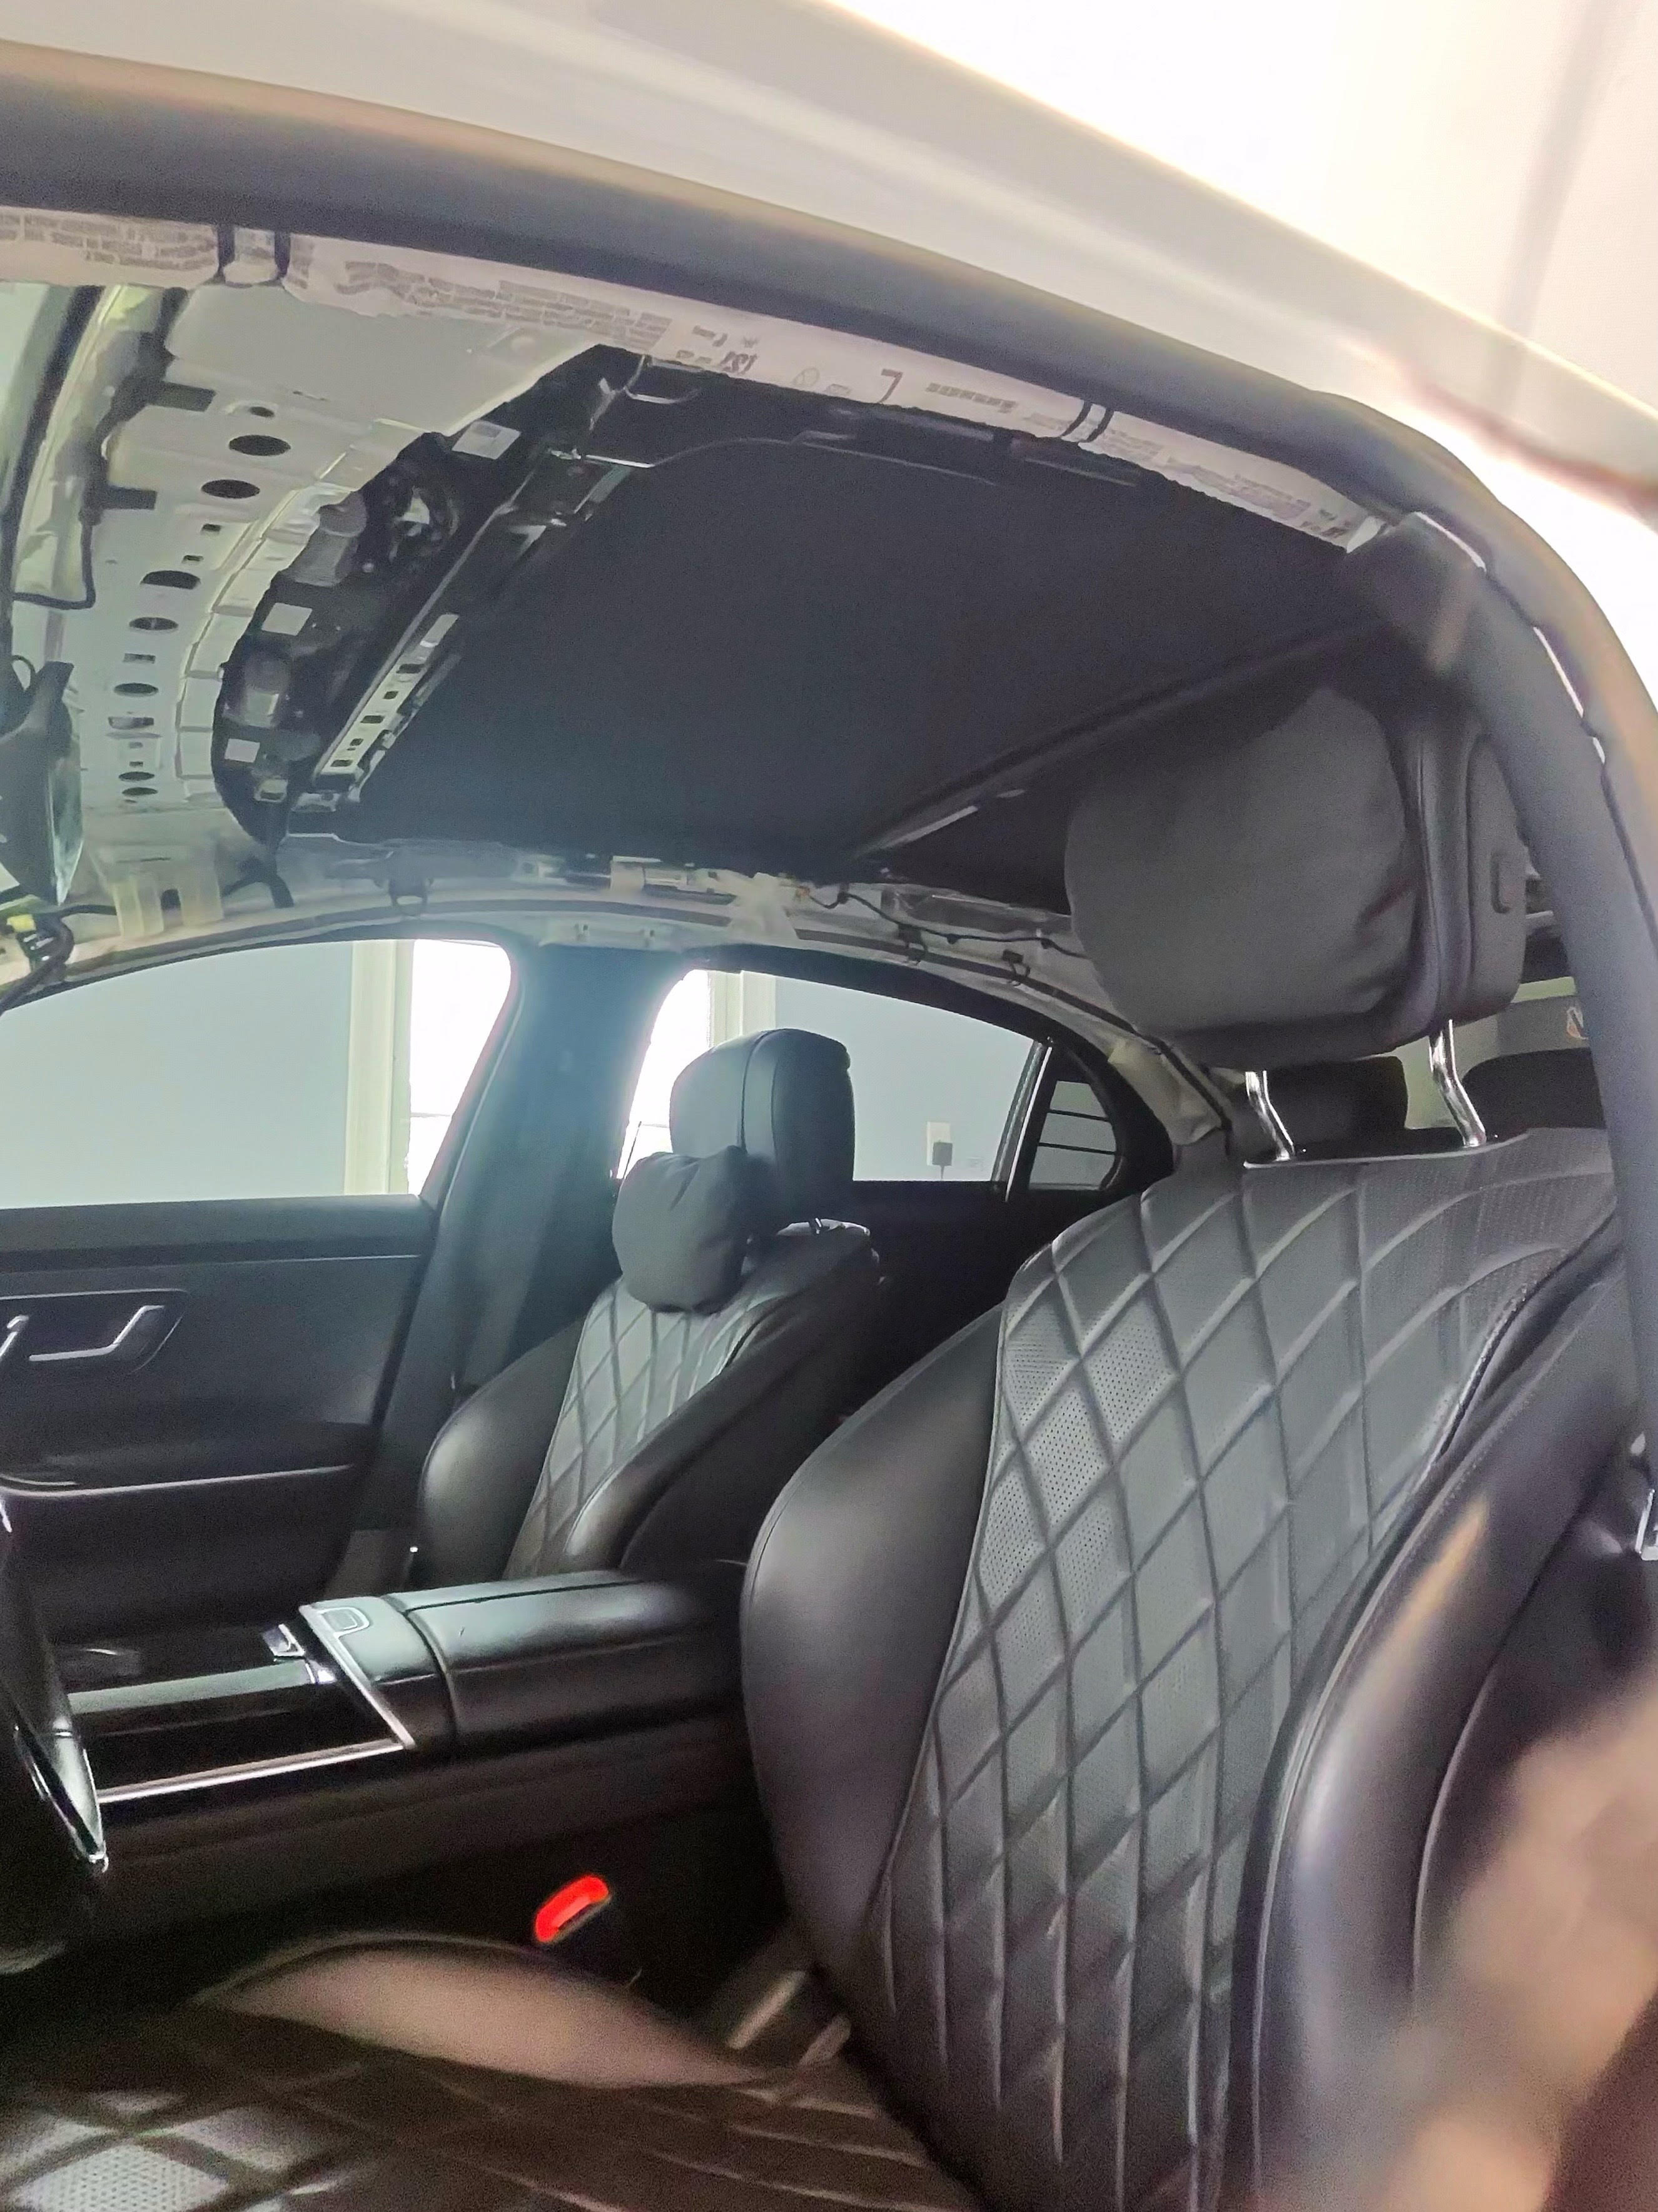
Headliner Panel Removal
Once the trim and components are removed, you can proceed with the headliner:
- Carefully slide the headliner out of the vehicle. Note that sedans may have a trunk pass-through, while hatchbacks utilize a rear liftgate.
- For SUVs and crew cab trucks, ensure you have enough clearance to maneuver the headliner out.
- Coupes and single cab trucks typically allow for headliner removal without seat removal.
- Use caution when angling or rotating the panel to avoid damaging any surrounding components.
Sunroof-Specific Instructions
If your vehicle has a sunroof, follow these additional steps:
- Identify the type of sunroof: sliding sunshades (which can be upholstered) vs. rolling shades (which cannot be upholstered).
- Locate hidden clips around the sunroof trim that may need to be removed.
- For a deeper dive, refer to our Sunroof Disassembly guide.
Pro Tip:
Don’t forget to label connectors with masking tape during disassembly to simplify reinstallation!