Ambient Lighting Kit Overview – Non-Invasive vs. Invasive Install Methods
Transform your car's interior with vibrant mood lighting! This guide dives into the world of ambient lighting kits, exploring the differences between non-invasive and invasive installation methods, their functionality, and what each approach entails for vehicle modders and professional installers.
What are Ambient Lighting Kits?
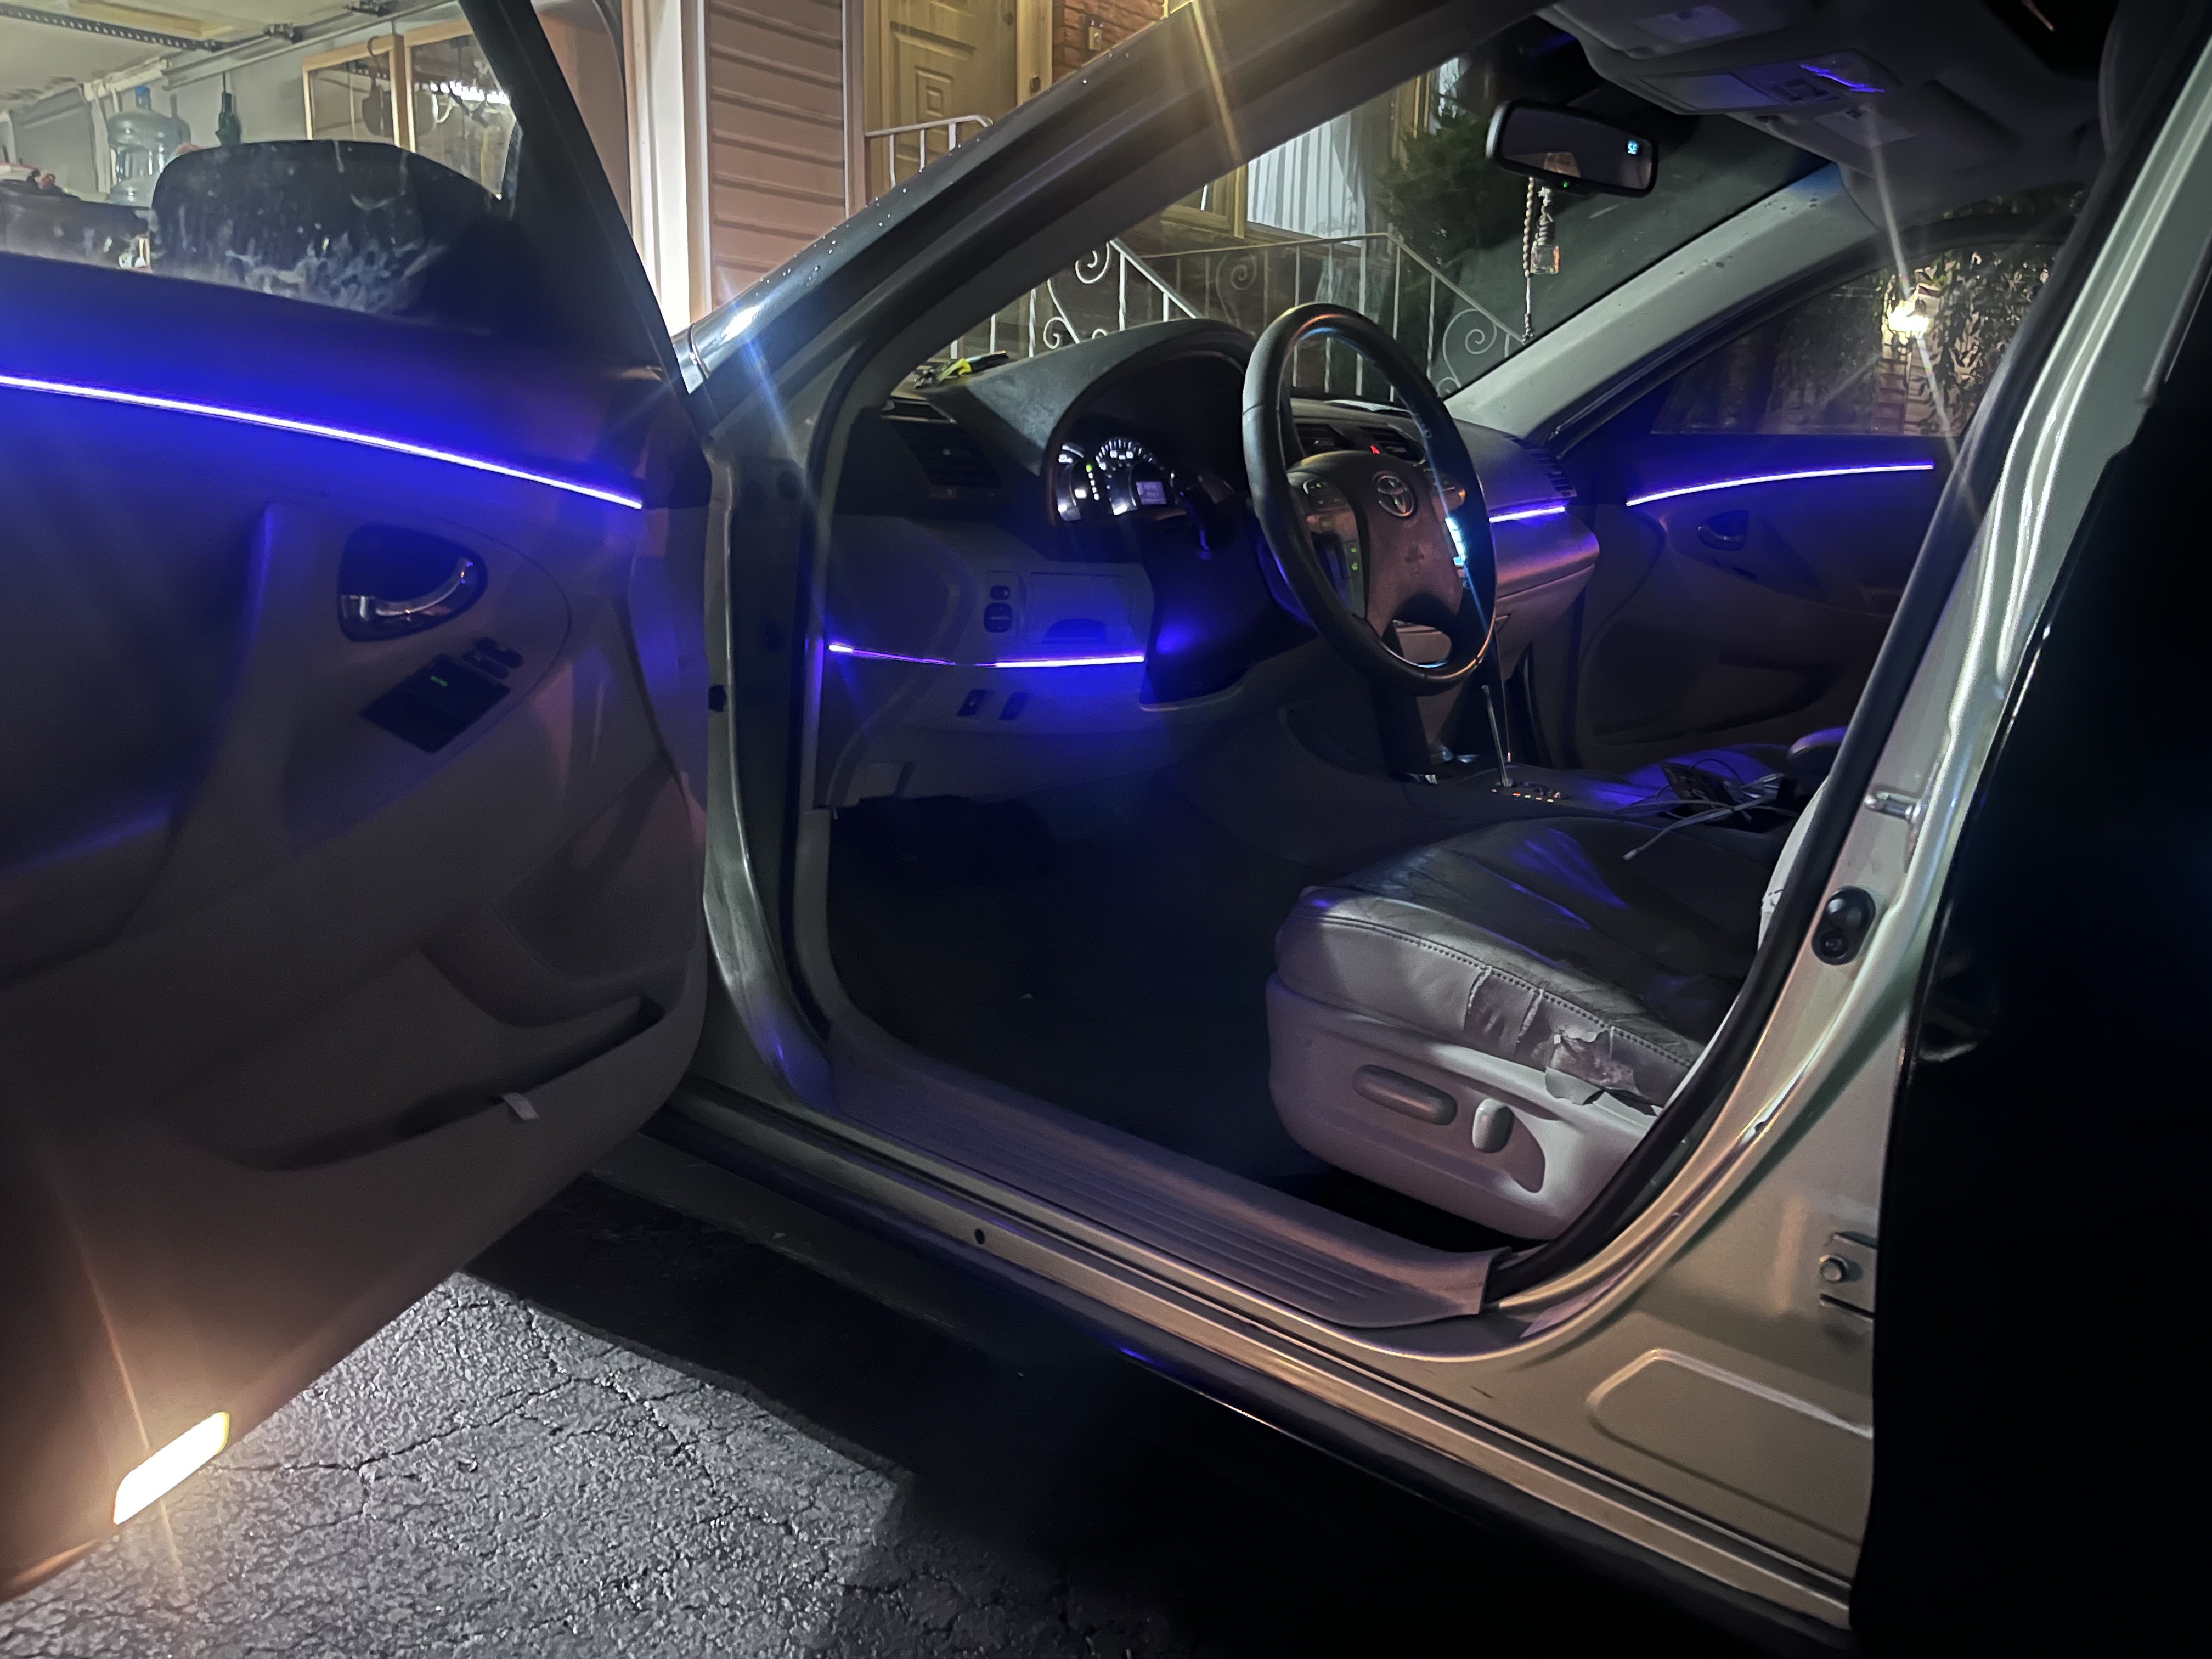
Ambient lighting kits are typically **RGB LED-based systems** designed to add customizable mood lighting to your vehicle's interior. These lights are strategically placed around door panels, center consoles, dash trim, and footwells to create a soft, continuous glow. The LED light is emitted through a clear diffuser strip, which is inserted behind trim pieces, making the light source itself hidden for a clean, integrated look.
A typical kit often includes:
- **4 LED footwell pods:** For illuminating the front and rear footwell areas.
- **4 strip diffusers:** Designed for door panels and/or dash trim.
- **Ring lighting add-ons:** Optional modules for speaker surrounds or door handles.
These systems are controlled by a **main controller module**, which is wired to the vehicle's power and ground. Users can typically manage colors, brightness, and modes via a remote control or a dedicated mobile application. The module then sends color and mode signals to all connected lighting elements.
Power & Signal Routing
All individual lighting zones (e.g., each door strip, footwell pod) route their power and signal wires back to the main controller module. Depending on the kit's complexity, some systems might use individual subcontrollers for different zones. Power for the main module is typically drawn from the vehicle's cabin fuse box using a **fuse tap**, ensuring a safe and integrated power source.
Non-Invasive Kits (Single Module Style)
This method utilizes a single, central controller module. All wiring from the door panels must be routed through the vehicle's factory door boots (the flexible rubber conduits that protect wiring between the door and the chassis) into the main cabin.
Pros:
- **Cleaner Wiring Path:** Since all wires originate from a single module, there are no taps into the vehicle's existing door harnesses, maintaining wiring purity.
- **Ideal for Show Builds:** Preferred for high-end installations or customer cars where minimal modification to factory wiring is desired.
Cons:
- **Much Harder Install:** Running wires through factory door boots can be extremely challenging. These boots are often tight, angled, and sealed, requiring significant effort and specialized tools.
- **Limited Independent Control:** Typically, these systems cannot control individual doors independently, meaning no side-to-side animations or zone-specific color changes.
Invasive Kits (Multi-Controller / Tapped Style)
In contrast, invasive kits often feature a subcontroller for each door or major lighting zone. These subcontrollers connect to nearby power and ground sources within the door itself, usually via taps or pin-ins into existing wiring.
The subcontrollers then communicate wirelessly with the main master module, simplifying the wiring process significantly. Wires can tap into:
- Existing door harnesses (for power and ground).
- The rear of factory door switches (e.g., window or lock switches).
Pros:
- **Easier Install:** Eliminates the need to run wires through the difficult rubber door boots, drastically reducing installation time and complexity.
- **Supports Side-Aware Animations:** With individual door controllers, the system can often support advanced features like startup animations that sweep across the car or react differently per side.
Cons:
- **Potentially Messier:** If not properly taped, terminated, and secured, the additional wiring and tap points can appear less "OEM" than a non-invasive setup.
- **Requires Identifying Tap Points:** Installers need to accurately identify safe and appropriate power/ground tap points within each door, which varies by vehicle.
Modes, Styles, and Options
Modern ambient lighting kits offer a vast array of customization options:
- **Hundreds of Colors:** Full RGB spectrum control.
- **Dynamic Modes:**
- Solid color
- Breathing / pulsing effects
- DreamColor / chasing modes (advanced rainbow animations)
- Sound reactive modes (lights react to music)
- **Synchronization:** Can be synced with music playback or set to automatically turn off when the car's ignition is shut down.
Installation Tips
Mounting the Strip:
- **Placement:** Install the LED strip behind dash and door trim pieces. The goal is to avoid direct visibility of the bare LED strip, allowing only the diffused light to be seen.
- **Securing:** Use the adhesive backing provided with the strip, and pressure-fit it into existing grooves or gaps in the trim.
- **Wire Routing:** Small holes can be drilled in inconspicuous areas for cleaner wire routing, though this is optional depending on the trim design.
Footwell Pods:
- **Attachment:** These pods can be stuck directly to the carpet or plastic surfaces under the dash.
- **Security:** Secure them further with zip ties or additional adhesive tape for an "OEM+" look and to prevent them from coming loose.
Speaker Ring / Handle Lighting:
- **Add-on Modules:** These are typically separate modules that integrate with the main system.
- **Power:** Often require a 12V split from a nearby controller or the main module.
Final Notes
- **Fusing:** Always fuse your power line with the correct amperage to protect your vehicle's electrical system and the lighting kit.
- **Pre-Installation Test:** Before final mounting and reassembly, always test the controller and all lighting elements to ensure everything is functioning correctly.
- **Hardwired Installs:** For complex setups or if powering multiple kits/accessories, consider using dual fuse taps for a clean and safe power distribution.