Hardwiring LED Kits to Door Panel Power – Safe Taps & Best Practices
For car modders and interior installers, hardwiring LED kits directly to door panel power is a common practice that allows for independent control of ambient lighting. This guide will cover the essentials of hardwiring, including safe tap methods, best practices, and important considerations for modern vehicles.
What Is Hardwiring in This Context?
Hardwiring refers to the process of tapping directly into an existing 12V power and ground source inside the door panel to power submodules of an ambient light kit. This method is typically employed when:
- You want each door's LEDs to be independently controlled.
- You’re avoiding the hassle of running wires through the factory door boots, which can be tight or sealed.
Risks and Considerations in Newer Cars
Many newer vehicles (especially those manufactured post-2018) utilize **LIN** or **CAN bus-controlled electronics** in the door, which manage various functions including lights, locks, and windows. Tapping into these circuits can lead to:
- Diagnostic Trouble Codes (DTCs) being triggered.
- Interference with the vehicle's communication systems.
To avoid issues, steer clear of tapping into:
- **CAN high/low wires:** Typically found as twisted pairs.
- **Door modules labeled "LIN" or "CAN"** on wiring diagrams.
Safe tap targets include:
- Interior door courtesy lamps.
- Mirror turn signal lights (if separate and 12V).
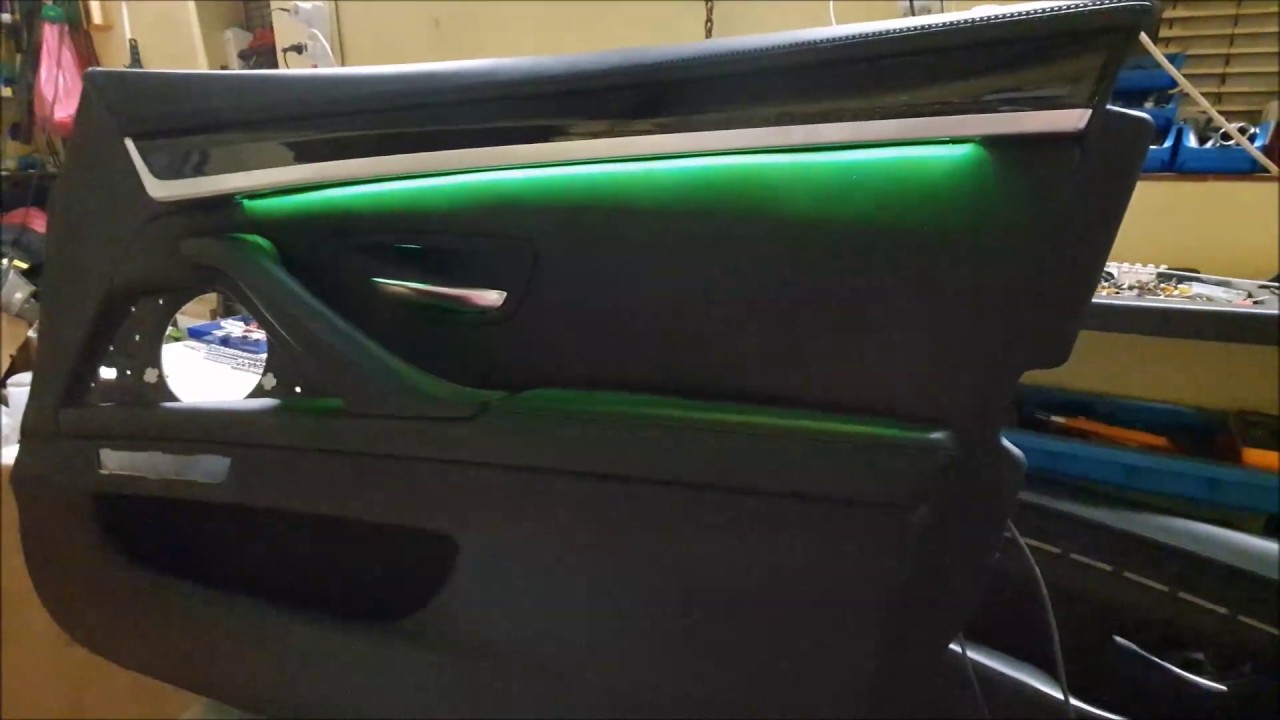
- Ambient door handle lights (if separate and 12V).
How to Safely Tap Into Door Panel Power
Follow these steps to safely tap into the door panel power:
1. Identify a 12V Source with a Multimeter:
- Use the courtesy light wiring or a dedicated accessory light.
- Confirm that the source stays off with the ignition and doesn’t fluctuate unexpectedly.
2. Check Wire Gauge and Type:
- Ensure the wire gauge matches your subcontroller's draw to avoid overloading the circuit.
- Avoid using wires under 22AWG if possible for better reliability.
3. Splicing Method (3 Recommended Options):
- **Solder and Heat Shrink:** The most reliable method for a permanent connection.
- **T-Tap or Posi-Tap Connectors:** Removable and easier for beginners, allowing for quick disconnection if needed.
- **Quick Splice Connectors:** Not recommended unless the connection is temporary, as they can be unreliable.
How to Solder Safely:
- Strip ¼ inch of insulation from both wires.
- Twist wire strands together or overlap them using a hook method.
- Apply heat evenly and feed solder into the joint — do not melt solder directly onto the iron.
- Slide on heat shrink tubing (pre-fitted) and apply heat until sealed for a clean finish.
4. Ground Location Tips:
- Use a factory bolt into metal behind the door panel if available for a solid ground connection.
- Avoid screwing into structural beams or moisture zones to prevent corrosion.
- If grounding to a painted surface, sand off the paint to ensure a good electrical connection.
Tools & Materials You’ll Need:
- Multimeter
- Soldering iron & solder
- Heat shrink tubing or cloth tape
- T-taps or Posi-taps
- Small flathead screwdriver for prying connectors
Pro Tips:
- Label each wire and test connections before final installation to avoid confusion later.
- Consider using a quick-disconnect connector if the door panel needs to be removed in the future.
- Add a small inline fuse to each submodule if it’s not already protected by the original kit.
- Always disconnect the car battery after moving power seats and before making any final taps to avoid DTCs.