How to Upholster a Suede Headliner – Fabric Prep, Adhesive Types & Install Tips
Reupholstering your vehicle's headliner with suede or microsuede fabric can elevate the interior aesthetics and provide a luxurious feel. This guide will walk you through the entire process, from fabric preparation to adhesive selection and installation tips, ensuring a professional finish.
🧰 Tools & Materials Needed
- Suede or microsuede headliner fabric (1/8" foam backing preferred)
- High-temp spray adhesive (compare cans vs. spray gun)
- Sandpaper or stiff brush (for old foam removal)
- Scissors, roller, razor blade
- Hot glue gun (for edges)
- Optional: vacuum, heat gun, masks, bags for connector protection
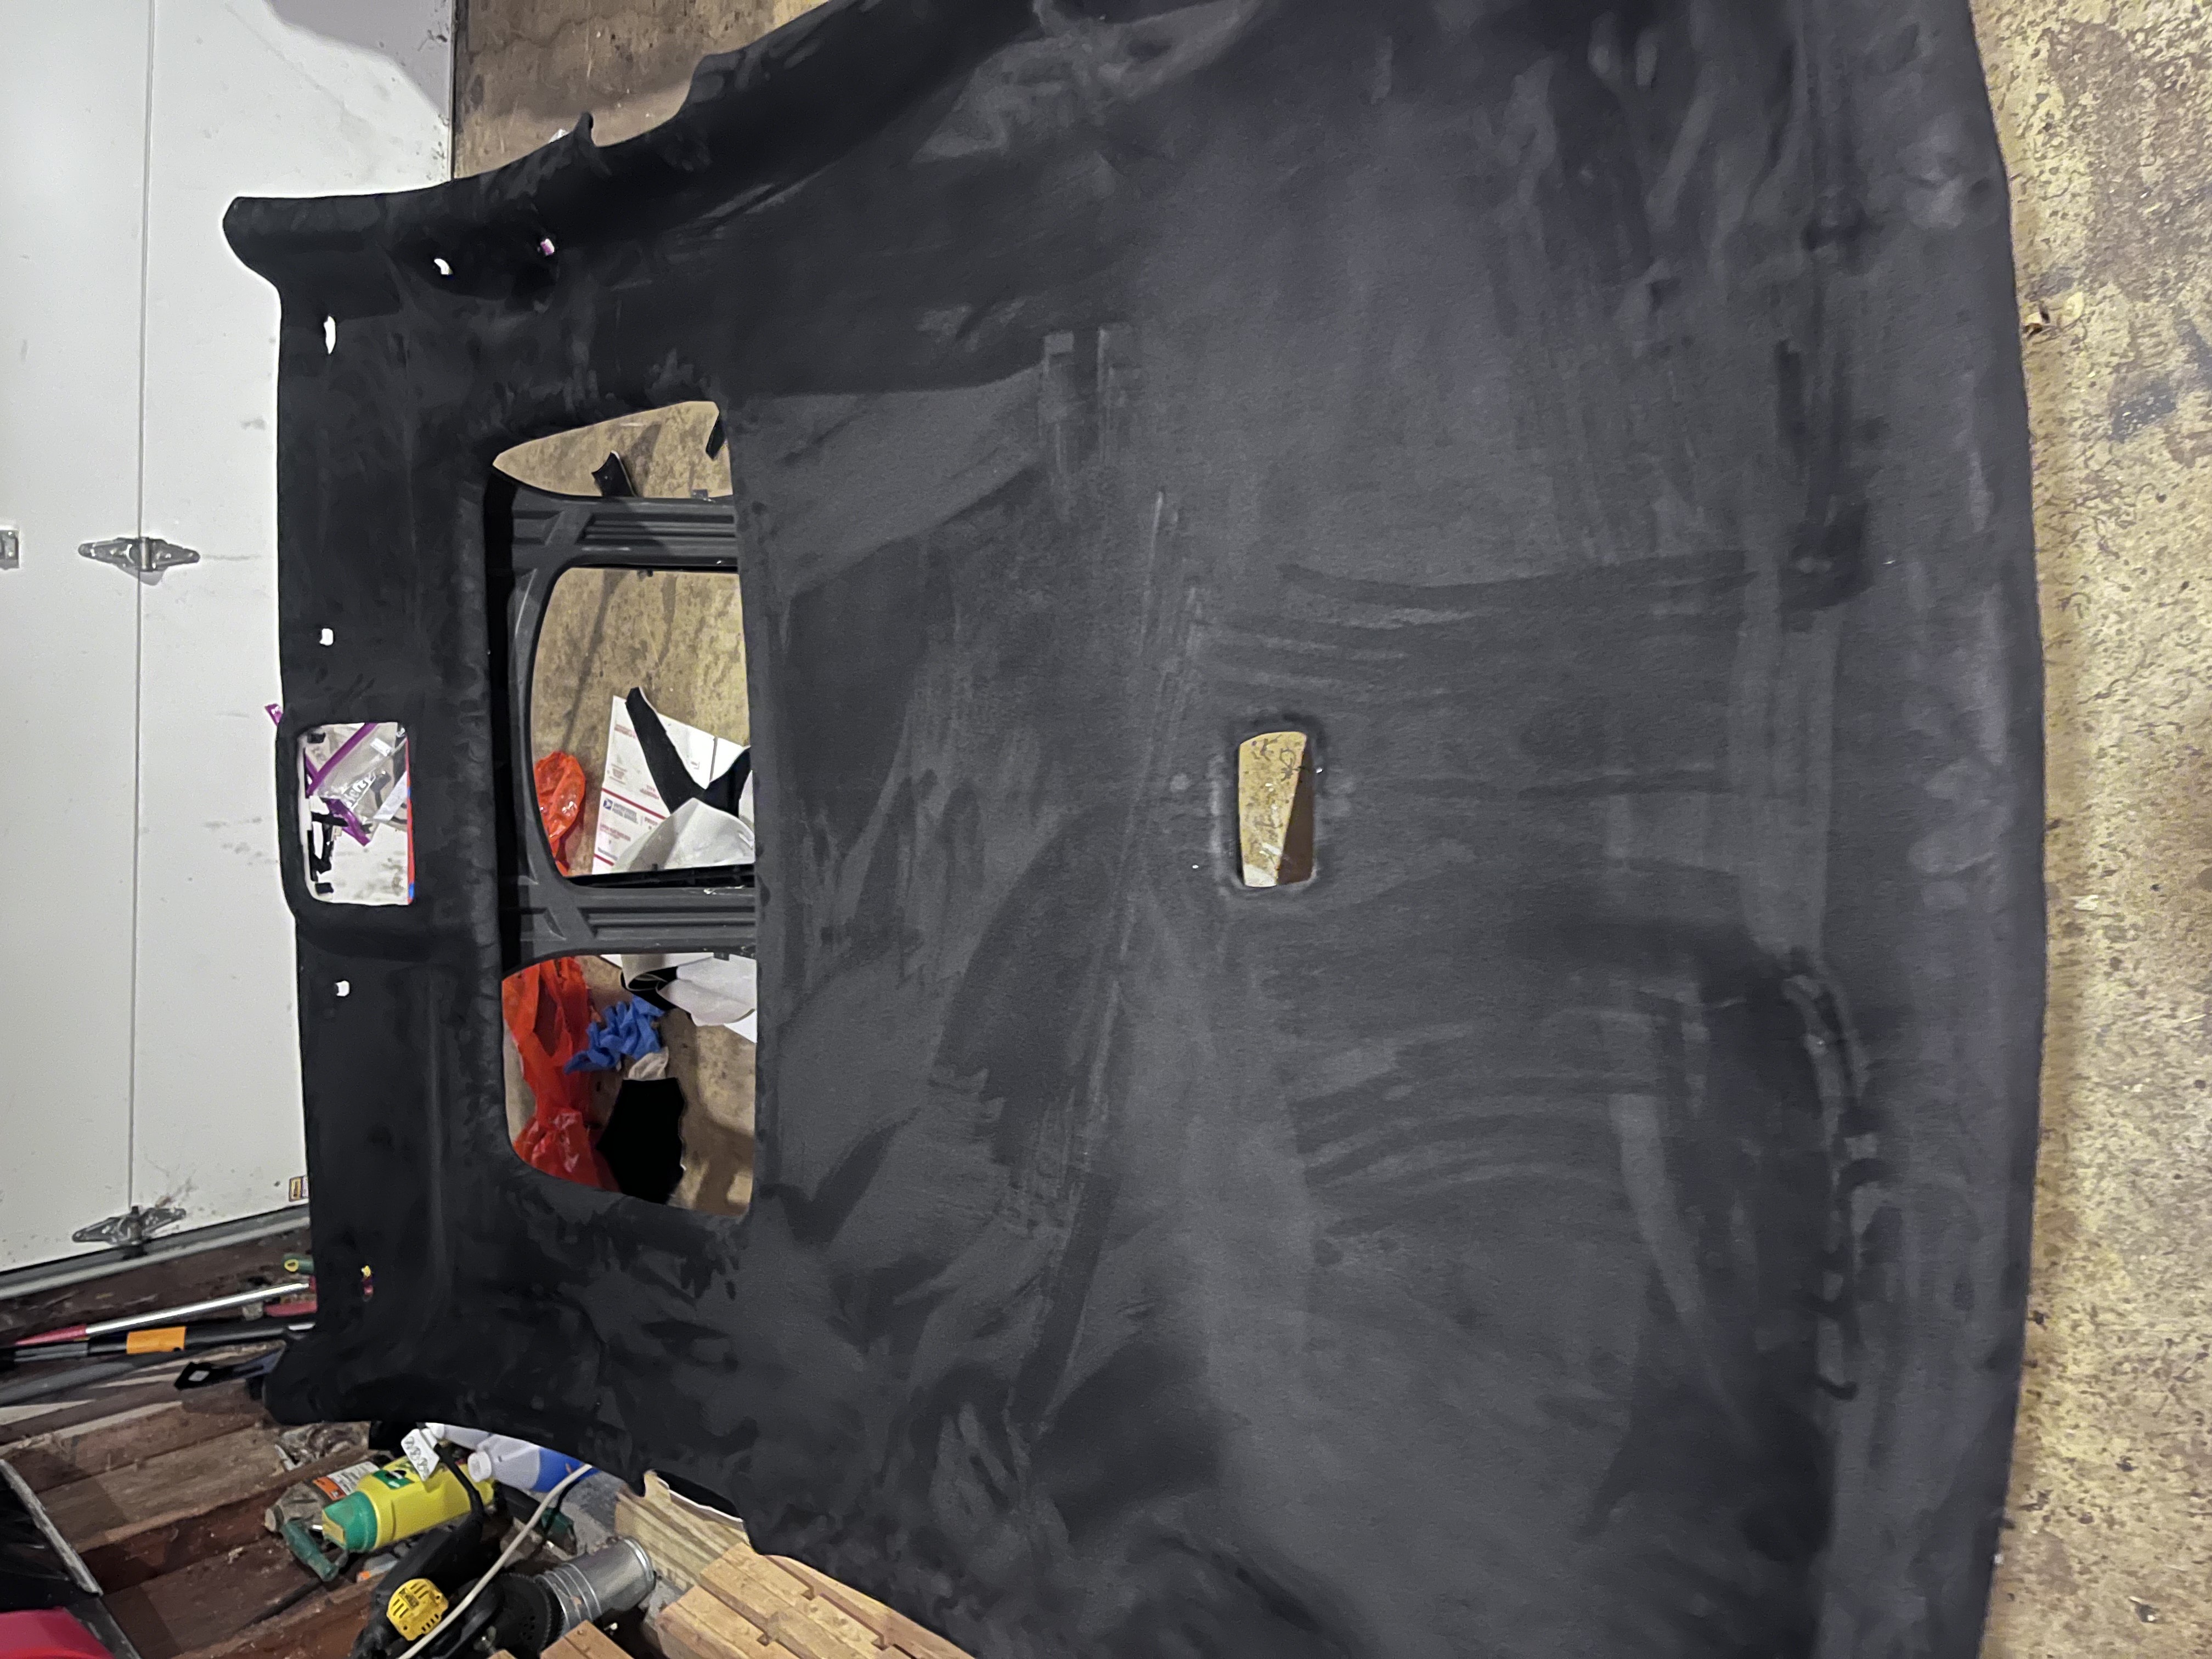
🧼 Step 1: Headliner Board Prep
- Strip all old fabric and foam using a sanding block or wire brush.
- Clean the board surface thoroughly; any leftover foam can cause bubbles in the new fabric.
- Bag or tape over wire harness plugs, sensors, and sunroof sliders to protect them during the process.
- Remove sunroof shade guides and corner pieces if needed for better curvature.
- Let the board dry out in the sun to harden old adhesive for easier cleaning.
🔫 Step 2: Adhesive Selection – Spray Gun vs. Cans
Spray Can Options:
- Permatex Headliner Adhesive: Budget-friendly, decent hold, wide spray pattern.
- 3M Headliner & Fabric Adhesive 38808: Reliable OEM spec, narrower spray for precision.
- 3M Super 77 or 90: High strength but may soak foam and cause hard spots.
Spray Gun Setup:
- Use a compressor (30–50 PSI) with an HVLP spray gun for even coverage.
- Preferred for larger jobs due to less overspray and cheaper per job cost.
- Weldwood Landau Contact Cement (red can): Used by pros, extremely tacky and long-lasting.
- Pro tip: Thin Weldwood slightly with mineral spirits for smoother atomization.
- Always spray both the fabric and board for best adhesion.
📏 Step 3: Applying the Fabric
- Work in halves: align the center, spray adhesive, and press with your palm or roller.
- Allow proper open time (5–10 min) for contact adhesive to set before joining surfaces.
- Roll out from the center to avoid trapping air; fix bubbles early in the process.
- Stretch gently around curves; avoid pulling the foam apart.
- For tight radii, make relief cuts to allow wrapping without tension.
- Wrap edges and glue them down with a hot glue gun for a clean finish.
⚠️ Common Challenges
- Bubbles: Usually caused by trapped air or leftover foam.
- Sagging Over Time: Often due to low-temp adhesive or poor surface prep.
- Wet Spots: Result from spraying too close or over-saturating the foam.
- Fabric Delamination: Cheap fabric or excessive glue can cause foam to separate.
🌞 UV Exposure & Heat Cycling
Headliners can sag over time due to:
- UV rays breaking down the foam.
- Interior heat cycles expanding and contracting the adhesive.
While suede lasts longer than OEM headliner fabric, it is still vulnerable over time. Pro tip: store material indoors and install on cool, dry days to minimize heat exposure during installation.
🪡 Pro Finish Touches
- Use a sharp blade to cut out holes for dome lights and grab handles.
- Reinforce stress areas with hot glue on the backside for added durability.
- Let the installation fully cure for 24–48 hours before reinstalling the headliner.
- Optional: add a foam overlay to smooth out any high or low spots before applying the fabric.