Seat Removal 101 – Safe & Effective Seat Removal for Headliner Clearance
When performing interior upgrades like starlight headliner installations, gaining sufficient clearance is paramount. This guide focuses specifically on the safe and effective removal of car seats to provide the necessary room for headliner manipulation, ensuring a smooth and damage-free process for installers and DIY enthusiasts.
Why Seat Removal Matters for Headliner Clearance
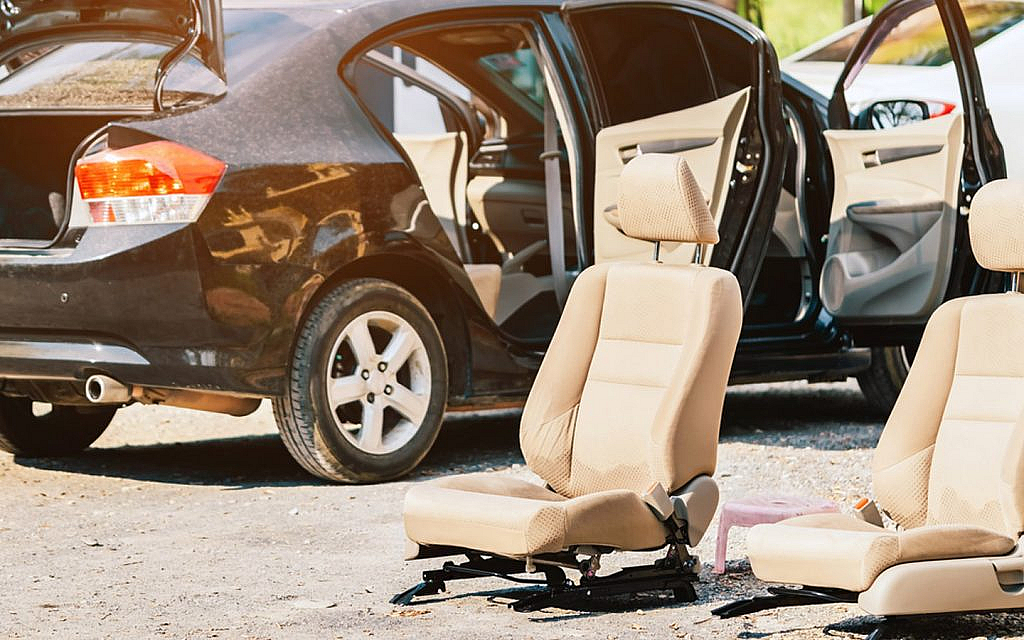
The primary reason for removing front seats during a headliner project is to create ample space to maneuver the large, often rigid, headliner board out of the vehicle without bending, creasing, or damaging it. This is especially critical for:
- Sedans: The confined interior space often necessitates seat removal to allow the headliner to pass through the door openings or trunk pass-through.
- SUVs: While larger, many SUVs still benefit from seat removal to prevent awkward angles and potential damage to the headliner or interior trim during extraction.
- Crew Cab Trucks: These vehicles, despite their size, often have limited vertical clearance or door opening angles that make seat removal essential for a clean headliner extraction.
In some vehicles, such as coupes and hatchbacks, the larger door openings or rear hatch access may make seat removal optional, as the headliner can often be angled out without needing the extra floor space.
Step-by-Step Seat Removal Process for Headliner Access
1. Move the Seat Using Power Controls
Most modern vehicles are equipped with power seats. Utilize this feature to your advantage:
- Use the power controls to move the seat fully forward, then fully backward. This grants you clear access to all front and rear mounting bolts.
2. Remove All Seat Bolts
This is a critical step before any electrical disconnections:
- Loosen and remove all bolts securing the seat to the floor. Typically, there are four bolts per seat.
- **Important:** Only disconnect the battery *after* this step. Keeping the battery connected allows you to use the power controls to move the seat for bolt access.
- *Installer Tip:* Some Nissans use unusual 14mm bolts, while many others use 13mm or Torx. Have a good socket set ready!
3. Adjust Seat Position for Exit
Once the bolts are out, prepare the seat for removal from the vehicle:
- Recline the backrest fully to create a flatter profile, making it easier to angle out.
- Lower the headrest and slide the seat rails to achieve the optimal tilt and minimize overall height.
- Be mindful of rail overlap and angle the seat appropriately to clear the door frame and exit the vehicle without scratching interior panels or the seat itself.
4. Electrical Disconnect & DTC Prevention
This is the most crucial step for preventing electrical issues:
- After all bolts are removed and the seat is positioned, **disconnect the vehicle's battery.**
- **Wait a minimum of 10 minutes** after battery disconnection before unplugging any seat connectors. This allows the vehicle's electrical system to fully discharge, preventing accidental airbag deployment or module errors.
- Skipping this crucial waiting period can lead to airbag Diagnostic Trouble Codes (DTCs), seat occupancy sensor faults, and other persistent electrical issues.
- Newer vehicles are particularly sensitive and may store these codes, often requiring a specialized scan tool to clear them, which can be an unexpected hassle.
Final Removal Tips for Headliner Clearance
Before fully removing the seat from the vehicle, keep these practical tips in mind:
- Always check for any clips holding seat wiring connectors to the floorpan. These must be unclipped to free the harness.
- Use plastic covers or thick blankets in the door jamb and over the door sills to protect the car’s paint and interior trim from scratches as you remove the seat.
- Guide the seat out carefully. Avoid dragging it over thresholds or tearing weather seals, which can be costly to repair.
Pro Tip:
Always label connectors with masking tape if more than one plug is present. This simplifies reinstallation and prevents incorrect connections!
Related Articles for Your Interior Project